Required tools: Wire brush WD-40 spray Copper grease
Combination spanner #17 Drive socket # 7 Drive socket # 8 Drive socket # 10
Drive socket # 16 Drive socket # 17 Drive socket # 18 Torx bit T30
Wheel impact socket #19 Ratchet wrench Torque wrench Tap wrench
Flat chisel Hammer Rubber mallet Phillips screwdriver
Crow bar Painter's tape Wheel chock
1. Unscrew the wheel bolts. Use wheel impact socket #19.
AUTODOC recommends: To avoid injury, hold up the wheel when unscrewing the bolts.
2. Raise the front of the car and secure on supports.
3. Unscrew and remove the oil pan cover. Use a drive socket #8. Use a ratchet wrench.
4. Unscrew the lower fastener of the plastic bumper cover. Use a drive socket #8.
5. Unscrew the wheel arch cover fasteners. Move the part aside. Use a ratchet wrench. Use a Phillips screwdriver.
6. Unplug the connectors of the headlights.
7. Unscrew the fastener connecting the bumper to the fenders. Use Torx T30. Use a ratchet wrench.
8. Stick painter's tape to the car fenders to protect the paintwork from damage when demounting the bumper.
9. Loosen the bumper upper fasteners. Use Torx T30. Use a ratchet wrench.
10. Carefully release the bumper from the fasteners.
AUTODOC recommends: Do not apply excessive force when removing the part. Otherwise you may damage it.
11. Unscrew the upper fasteners of the bumper and remove it.
AUTODOC recommends: To prevent damage to the components, hold the bumper when unscrewing the upper fasteners.
12. Unscrew the fastener of the intercooler air guide. Use a drive socket #10. Use a ratchet wrench.
13. Remove the intercooler air guide.
14. Unscrew the fastener of the spacer under the bumper reinforcement bar. Use a drive socket #10. Use a ratchet wrench.
15. Unscrew the fasteners of the bumper reinforcement bar. Use a drive socket #17. Use a ratchet wrench.
16. Remove the fasteners of the bumper reinforcement bar. 17. Remove the bumper reinforcement bar.
18. Unscrew the upper fastener of the intercooler. Use a drive socket #10. Use a ratchet wrench.
19. Unscrew the intercooler pipe clamp. Use a drive socket #7. Use a ratchet wrench.
20. Pry up and detach the lower pipe from the intercooler. Use a crowbar.
21. Unscrew the fasteners of the side member from the subframe. Use a drive socket #16. Use a drive socket #18. Use a ratchet wrench.
22. Move the intercooler aside and remove the side member.
23. Clean the fastener connecting the ball joint to the steering knuckle. Use a wire brush. Use WD-40 spray.
24. Unscrew the ball joint fastening to the steering knuckle.
Use a combination spanner #17. Use a drive socket #17. Use a ratchet wrench.
25. Unscrew the front arm fastener. Use a drive socket #18. Use a tap wrench.
26. Unscrew the rear arm fastener. Use a drive socket #18. Use a tap wrench.
27. Release the fastener connecting the ball joint to the steering knuckle.
Use a flat metal-working chisel. Use a hammer.
28. Disconnect the ball joint from the steering knuckle Use a crowbar.
29. Remove the arm.
30. Clean all joints of the arm. Use a wire brush. Treat all joints of the arm. Use WD-40 spray.
AUTODOC recommends: After applying the spray, wait a few minutes. Wear protective goggles. Wear a respirator.
31. Install a new arm. Use a crowbar.
32. Install the front fastener of the arm. Do not tighten it.
33. Install the rear fastener of the arm. Do not tighten it.
34. Connect the ball joint to the steering knuckle If necessary, use a rubber mallet.
AUTODOC recommends: Do not damage the ball joint cover.
35. Screw the rear arm fastener. Use a drive socket #18.
Use a torque wrench. Tighten it to 115 nm torque.
36. Screw the front arm fastener. Use a drive socket #18.
Use a torque wrench. Tighten it to 110 nm torque.
37. Tighten the ball joint fastener. Use a combination spanner #17. Use a drive socket #17.
Use a torque wrench. Tighten it to 40 nm torque.
38. Move the intercooler aside and install the side member.
39. Screw in the fasteners of the side member. Use a drive socket #16.
Use a drive socket #18. Use a ratchet wrench.
40. Treat the bolted connections on the side member. Use WD-40 spray.
41. Install the bumper reinforcement bar.
42. Tighten the fastener of the bumper reinforcement bar. Use a drive socket #17.
Use a torque wrench. Tighten it to 65 nm torque.
43. Screw in the fastener of the spacer under the bumper reinforcement bar.
44. Attach the pipe to the intercooler. Install the intercooler on its mounting seat.
45. Screw in the intercooler upper fastener. Use a drive socket #10. Use a ratchet wrench.
46. Install the intercooler air guide.
47. Screw in the fastener of the intercooler air guide. Use a drive socket #10. Use a ratchet wrench.
48. Tighten the fasteners of the side member.
Use a drive socket #16. Use a drive socket #18. Use a torque wrench. Tighten it to 95 nm torque.
49. Clean the bumper mounting seat. Use WD-40 spray.
50. Install the bumper. Screw in the upper fasteners.
AUTODOC recommends: To prevent damage to the components, hold the bumper when screwing in the upper fasteners.
51. Remove the painter's tape.
52. Install the bumper to the mounting seat. Make sure you hear a click indicating that it is locked in place.
53. Screw in the bumper upper fasteners. Use Torx T30. Use a torque wrench. Tighten it to 10 nm torque.
54. Screw in the lower fastener connecting the bumper to the fenders. Use Torx T30.
55. Plug in the connectors of the headlights.
56. Tighten the intercooler pipe fastener. Use a drive socket #7.
57. Plug in the connectors of the headlights.
58. Install the wheel arch cover to its mounting seat.
Screw in the fasteners. Use a Phillips screwdriver. Use a ratchet wrench.
59. Screw in the lower fastener of the plastic bumper cover. Use a drive socket #8. Use a ratchet wrench.
60. Plug in the connectors of the headlights.
61. Install the oil pan cover and screw in its fasteners. Use a drive socket #10. Use a ratchet wrench.
62. Clean the wheel rim mounting seat. Use a wire brush. Treat the contacting surface. Use copper grease.
63. Screw in the wheel bolts. Use wheel impact socket #19.
AUTODOC recommends: To avoid injury, hold up the wheel when screwing in the fastening bolts.
64. Lower the car and working in a cross order, tighten the wheel bolts. Use a torque wrench. Tighten it to 110 nm torque.
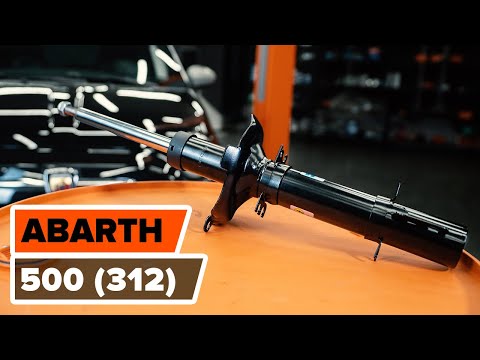

 For more infomation >> Come sostituire ammortizzatori anteriori su FIAT 500 ABARTH (312) [TUTORIAL AUTODOC] - Duration: 9:41.
  For more infomation >> Come sostituire spazzole tergicristallo / spazzola tergi FIAT 500 ABARTH (312) [TUTORIAL AUTODOC] - Duration: 2:11.
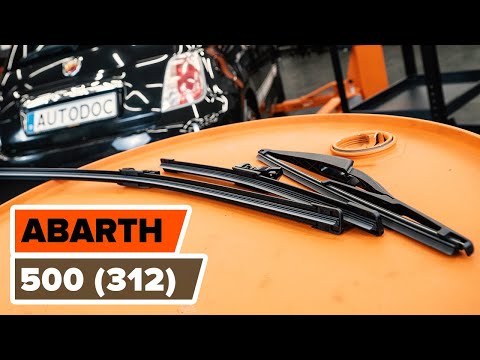 For more infomation >> Jak wymienić wycieraczki FIAT 500 ABARTH (312) [TUTORIAL AUTODOC] - Duration: 2:11.
  For more infomation >> Cómo cambiar los bujía en FIAT 500 ABARTH (312) [INSTRUCCIÓN AUTODOC] - Duration: 7:32.
 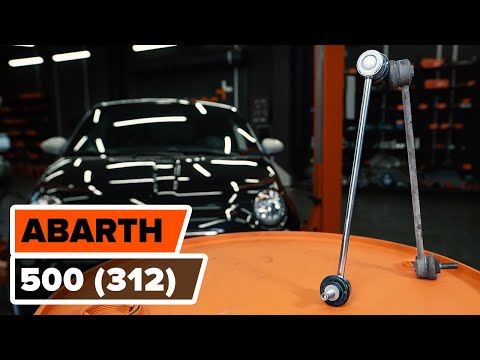 For more infomation >> Jak wymienić przednim łącznik stabilizatora w FIAT 500 ABARTH (312) [TUTORIAL AUTODOC] - Duration: 4:24.
  For more infomation >> Wie FIAT 500 ABARTH (312) Koppelstange vorderen / Pendelstütze vorderen wechseln [TUTORIAL AUTODOC] - Duration: 4:24.

Không có nhận xét nào:
Đăng nhận xét