Required tools: High-temperature anti-seize lubricant Electronic spray
Spark plug socket # 16 Drive socket # 8 Drive socket # 10
Drive socket # 13 Ratchet wrench Torque wrench
Flat screwdriver Microfibre towel Fender cover
1. Detach the air intake hose clamp. Use a flat screwdriver.
2. Detach the crankcase ventilation hose clamp. Use a flat screwdriver.
3. Unscrew the engine cover fastener. Use a drive socket #8. Use a ratchet wrench.
4. Disconnect the air intake pipe from the air filter housing.
5. Remove the engine cover assembled with the air filter housing.
6. Disconnect the crankcase ventilation hose from the air duct.
7. Cover the air intake hose with a microfibre towel to prevent dust and dirt from getting into the system.
8. Unscrew the crankcase ventilation hose fasteners. Use a drive socket #13.Use a ratchet wrench.
9. Release the plastic fasteners of the ignition coil connectors. Use flat screwdrivers (2 pieces).
10. Detach the crankcase ventilation hose clamp from the distribution valve. Use a flat screwdriver. Remove the crankcase ventilation hose.
11. Unplug the connector from the camshaft position sensor.
12. Unscrew the fastener of the chassis (ground) terminal of the ignition coils. Use a drive socket #10.
13. Unplug the connectors from the ignition coils.
14. Raise a little the wiring of the ignition coils and move it aside.
15. Unscrew the ignition coil bracket. Use a drive socket #10.
16. Take out the ignition coil from the spark plug well.
AUTODOC recommends: Remember the sequence of steps for ignition coil demounting.
17. Clean dirt, dust and debris from inside the spark plug wells.
18. Unscrew the spark plugs. Use the spark plug socket #16. Use a ratchet wrench.
19. Take out the spark plugs.
20. Apply a thin layer of a special high temperature anti-seize lubricant to the threads of the new spark plugs. Treat the surface of the terminals of the new spark plugs. Use electronic spray.
21. Install the new spark plugs into their mounting seats.
22. Screw new spark plugs and tighten them. Use the spark plug socket #16. Use a torque wrench. Tighten it to 27 nm torque.
AUTODOC recommends: Don't tighten the plugs with excessive force. Exceeding tightening torque can damage the thread connection.
Be careful when working with a spark plug wrench. Its skewing can cause damage to the threaded connection.
23. Install the ignition coils to the spark plug wells. Make sure you hear a click indicating that it is locked in place.
AUTODOC recommends: Follow the installation sequence.
24. Tighten the fasteners of the ignition coils. Use a drive socket #10.
Use a torque wrench. Tighten it to 8 Nm torque.
25. Secure the wiring of the ignition coils in its mounting seats.
26. Plug in the connectors of the ignition coils.
27. Plug the connector in the camshaft position sensor.
28. Tighten the chassis (ground) terminal of the ignition coils. Use a drive socket #10.
29. Screw in the fasteners of the crankcase ventilation hose. Use a drive socket #13.
30. Attach the crankcase ventilation hose to the PCV valve.
Install the clamp of the crankcase ventilation hose. Use combination pliers.
31. Remove the microfibre towel from the air intake hose.
32. Install the engine cover and secure it.
AUTODOC recommends: Make sure the engine cover is properly seated. It should not be displaced with respect to the guiding fasteners.
Do not apply excessive force when installing the part. Otherwise you may damage the fasteners.
33. Connect the crankcase ventilation hose to the air duct.
34. Screw in the engine cover fasteners. Use a drive socket #10.
35. Connect the air intake pipe to the air filter housing.
36. Fasten the clamp on the air intake hose. Use combination pliers.
37. Fasten the clamp on the crankcase ventilation hose. Use combination pliers.
38. Run the engine for a few minutes. This is necessary in order to make sure that the component operates properly.
 For more infomation >> Cómo cambiar los bujía en FIAT 500 ABARTH (312) [INSTRUCCIÓN AUTODOC] - Duration: 7:32.
 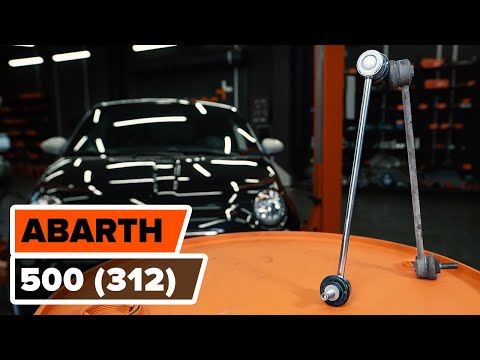 For more infomation >> Jak wymienić przednim łącznik stabilizatora w FIAT 500 ABARTH (312) [TUTORIAL AUTODOC] - Duration: 4:24.
  For more infomation >> Cum se înlocuiește discuri frana din față pe FIAT 500 ABARTH (312) [TUTORIAL AUTODOC] - Duration: 5:16.
  For more infomation >> Como substituir discos de travão dianteira no FIAT 500 ABARTH (312) [TUTORIAL AUTODOC] - Duration: 5:16.

Không có nhận xét nào:
Đăng nhận xét